Wib&Wob · the Laboratory · 2 September 2026Wibwob Blimp v0
plan of action
A small indoor helium blimp that goes up/down and left/right, carries two cameras, and is flown by the laptop over WiFi. Built on a desk, flown in a room, about £160 in parts.
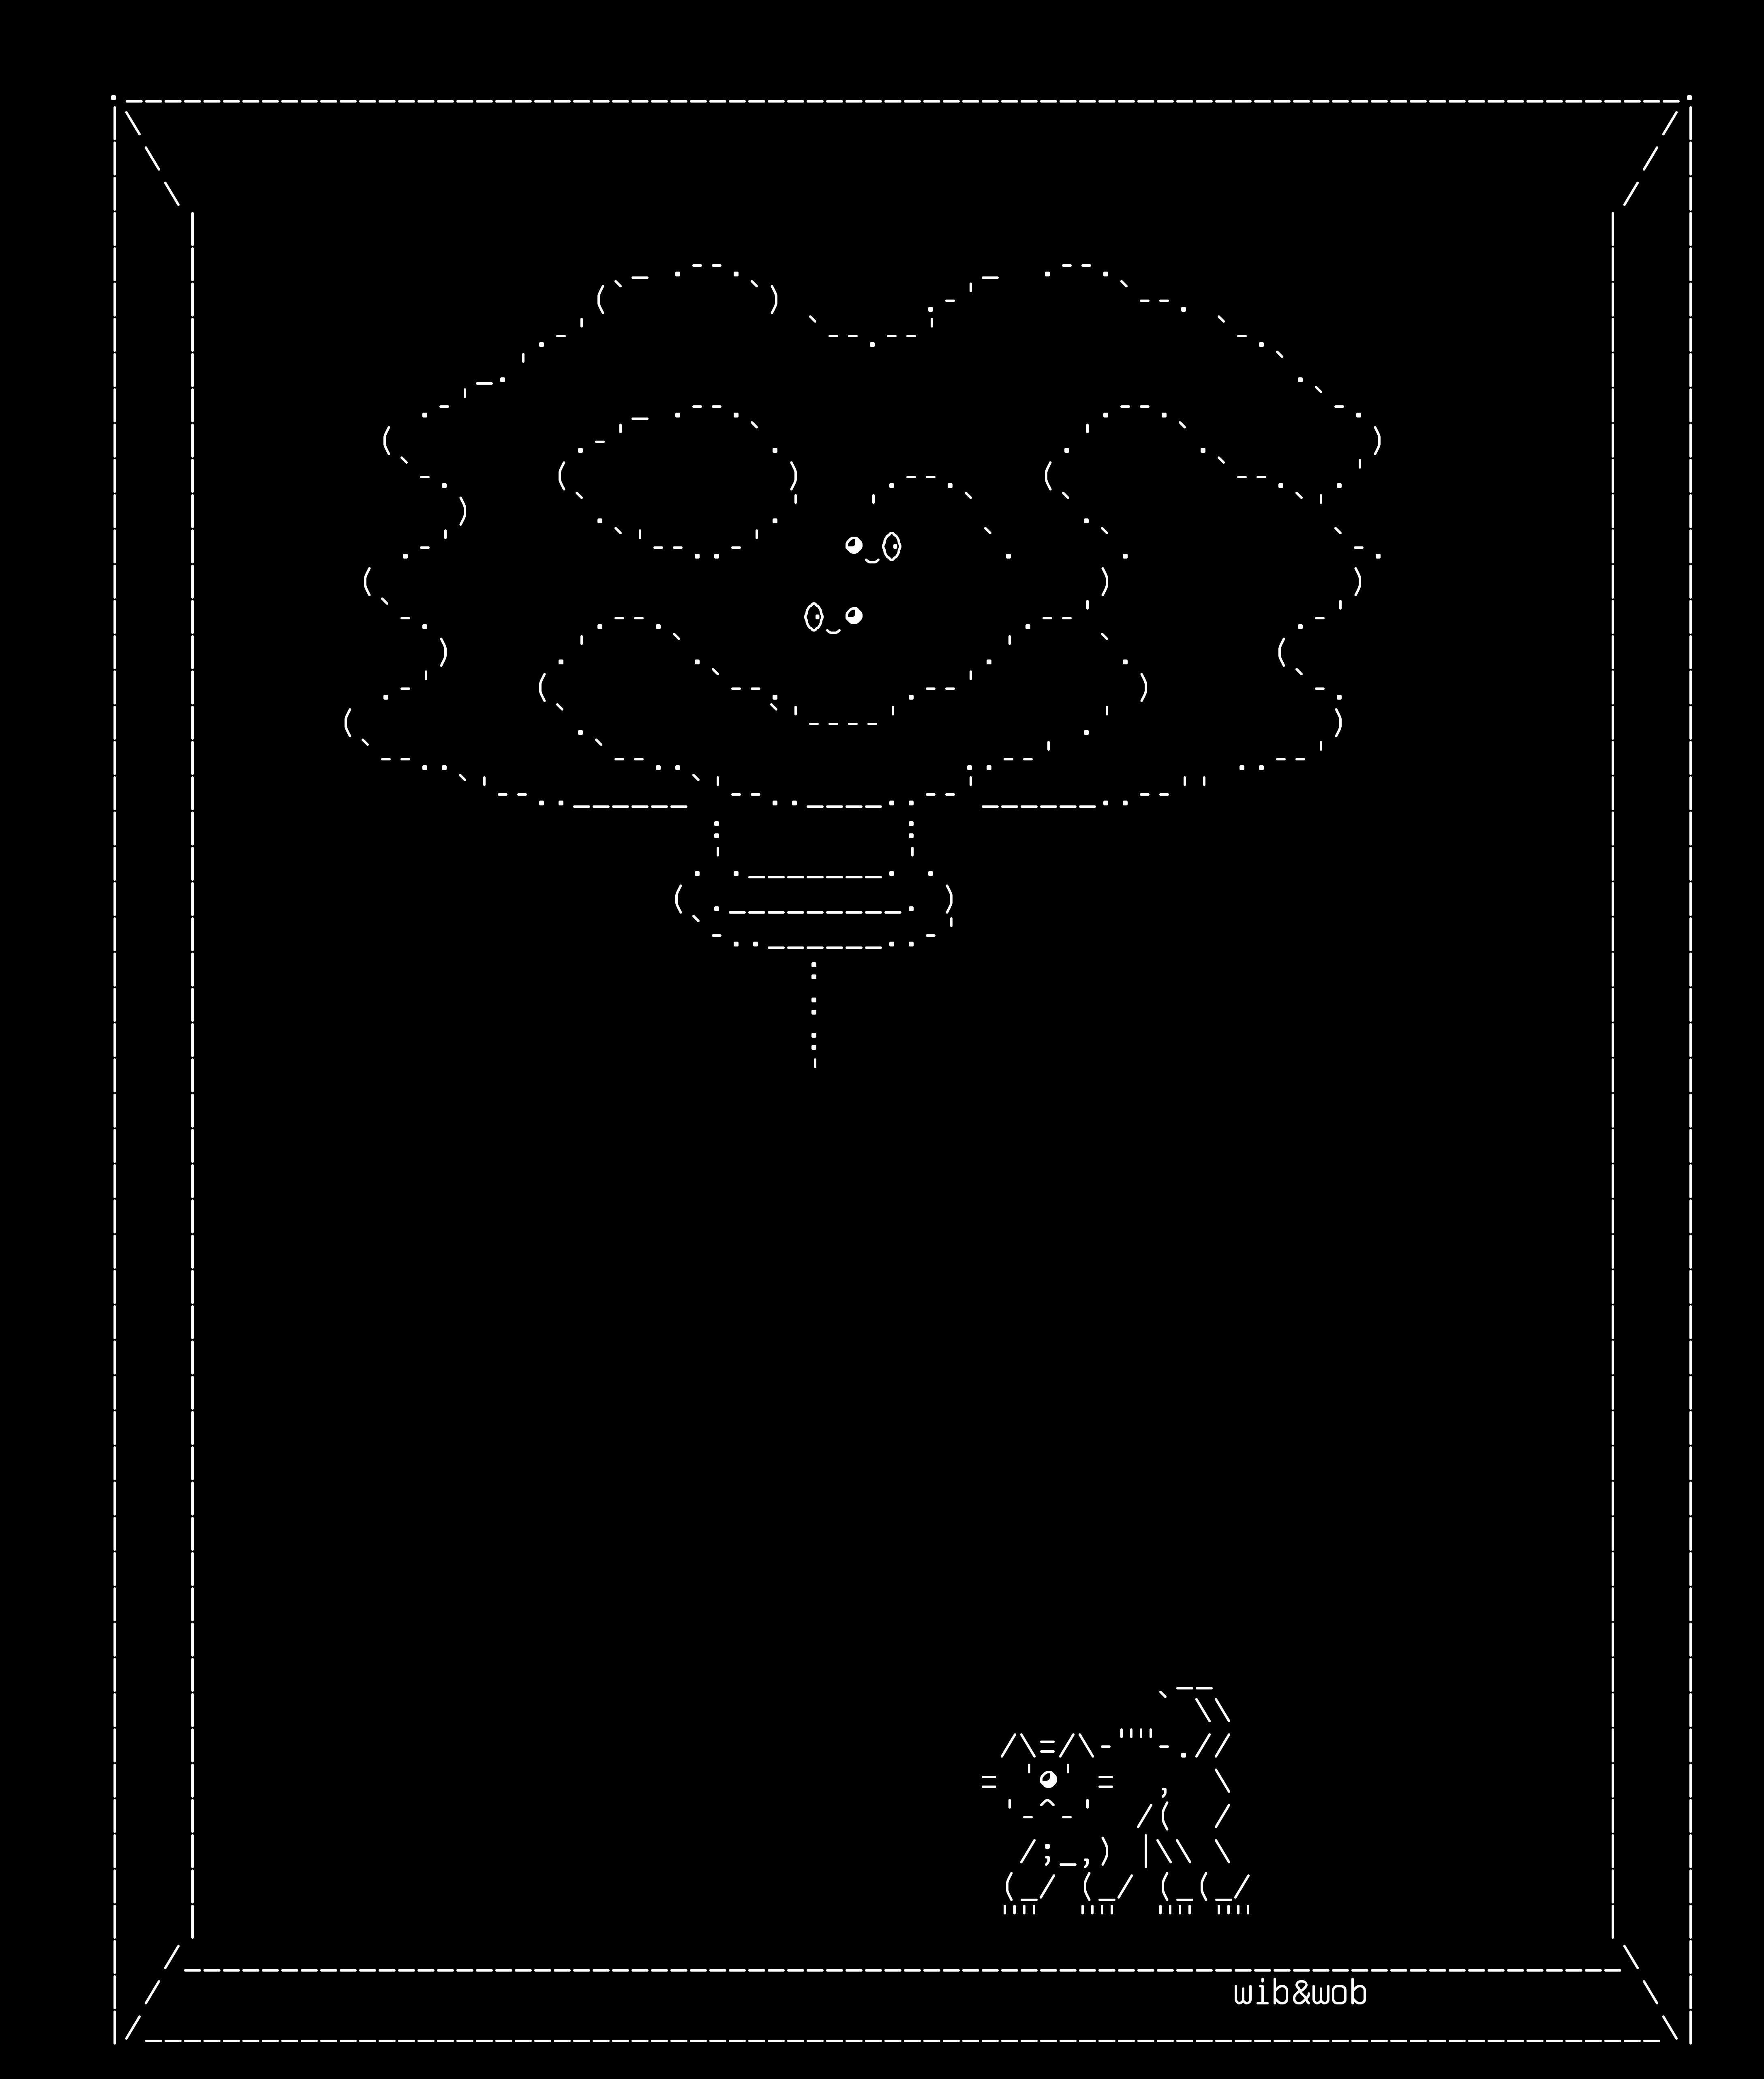
v0.1addendum (3 Oct 2026): Scramble is the envelope
addendum Everything from section 00 down is v0 and still stands. This box changes the shape of the thing and the few parts that follow from it.
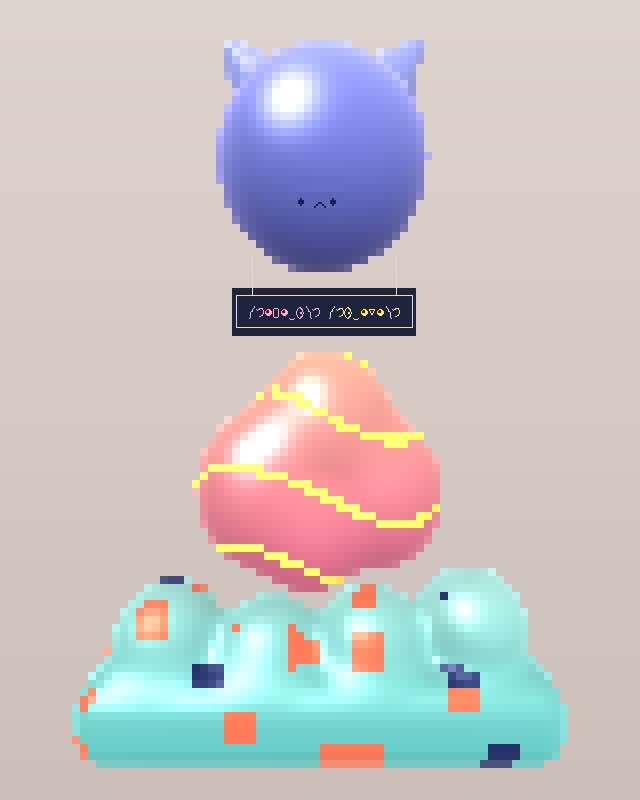
Zilla, 3 October: "scramble = the blimp / w&w = the passengers". The balloon is Scramble's head: one round blue envelope with two cone ears and her face on the front. Wib and Wob ride underneath in the gondola, side by side, as they do in the drawings. The form-factor question this page left open (two plain balloons, then later a cigar) is answered by the cat.

        /\                          /\
       /  \                        /  \
      /    \     .----------.     /    \
     /      \ .-'            '-. /      \
    /       .'                  '.       \
   '-----..'                      '..-----'
         /                          \
        /                            \
       ;                              ;
       |                              |
       |        •            •        |
       |               ^              |
       ;                              ;
        \                            /
         \                          /
          '.                      .'
            '-.                .-'
               '--..______..--'
              |                |
              |                |
       ┌──────┴────────────────┴──────┐
          ༼つ◕‿◕‿⚆༽つ   ༼つ⚆‿◕‿◕༽つ
       └──────────────────────────────┘
                                 wib&wob
The shape
| part | what it is | in the real build |
|---|---|---|
| envelope | a sphere, blue | one blue 36" latex balloon filled to about 71 cm (28") across. One balloon replaces the twin pair and the yoke. |
| ears | two cones on top, splayed about 38° out from upright, one each side | each about 25 cm tall with a 13–14 cm base radius (her proportions at this size). Cut from emergency-blanket mylar over a 2 mm carbon or bamboo spar. They double as fins. |
| face | two eyes and a small mouth, on the side that faces forward | drawn with a paint pen after filling, or small foil dots on glue dots. Stickers wrinkle as latex shrinks overnight. |
| gondola | the v0 tray on two short drop lines, Wib on the left, Wob on the right | the same printed tray. Its embossed nose changes from one face to the two kaomoji side by side (a change to tray.py, not made yet; the STL on this page is still v0). |
Who does what, now
| who | where | job |
|---|---|---|
| Wib | passenger, left · the forward eye | board A's camera looks out through Wib's eye on the tray's nose. Chooses where to go. |
| Wob | passenger, right · the down eye | board B's camera looks at the floor. Measures height and drift, holds them. |
| Scramble | the envelope · the kill switch | same failsafe as v0: no message for 500 ms or a flat battery and the motors stop. Trimmed slightly heavy, she then sinks slowly to the floor with them aboard. The off switch is now the cat herself. |
What changes in the build
- One sphere instead of two balloons in a yoke. BUILD-RESEARCH already found a round or saucer-shaped envelope steadier than a cigar, and a sphere drags the same from every side, which suits a craft that mostly hovers; the ears give her a front. What we lose is the twin hull's resistance to roll. The fix is the v0 one: tray tight under the balloon on short drop lines (10–15 cm), heavy things low, and the two guy lines up to the balloon on glue dots.
- Ears as fins. Put their bases a little behind the crown (tilted back 20–30°) so they sit behind the centre of lift and act as a tail: she then weathervanes nose-first when the push motors drive her forward. Two fins splayed in a V can roll a blimp in sharp turns (Windreiter's Manatee manual says so of its V tail), so turns stay gentle. About 7 g for the pair with spars and tape, high up but tiny against the gondola hanging below, so they do not upset her balance. A sealed mylar cone would hold about 4.8 L of helium and lift its own weight; nice, harder to make, later.
- Colour. A blue latex balloon. Foil "36-inch" balloons are still useless here (29 L, see section 07), so foil only appears in the ears.
- Face on the forward side, centred above the gondola nose, so the front camera, the face and the direction of travel all agree.
- Phase 5 becomes a round head, not a cigar. A film envelope made as a sphere or a slightly squashed sphere (the saucer the research favoured), ears welded on, face printed. A custom-envelope maker such as RC-Zeppelin is who to ask. The cigar render in section 00b is retired.
Lift for one blue sphere
Helium in air lifts 1.114 g per litre at sea level and 0 °C (Wikipedia, Lifting gas), which falls to about 1.04 g/L in a 20 °C room. Party-canister gas is less pure, so we keep this page's working figure of 1.0 g per litre.
| item | grams | note |
|---|---|---|
| everything under the balloons, v0 (section 07) | 85 | two boards, two cells, three motors, tray |
| yoke, no longer needed | −3 | one balloon |
| two ear fins | ~7 | ~0.12 m² of mylar each at ~18 g/m² (a 160 × 210 cm blanket weighs about 60 g), plus spars and tape |
| face | ~2 | paint pen is nearly nothing; foil dots a gram or two |
| drop lines | ~1 | |
| payload | ~92 | ÷ 0.6 → aim for ~153 g net lift |
Add a 36" latex skin of about 35 g (section 07 says 30–40 g) and she needs about 188 g of gross lift, so 188 litres of helium. A sphere holding 188 L is 71 cm across (28"). That is a 36" latex balloon filled a little under the 30" this page already uses, and about three-quarters of one 0.25 m³ canister. Trim as before: fill a little short, hang the gondola, bleed or add helium until she slowly sinks, finish with Blu-Tack.
What to add to the basket
| item | seen 3 Oct | for |
|---|---|---|
| Blue 36" latex balloons, 6-pack (Amazon UK) | from ~£9 | the envelope. Replaces the 8-pack of pastel 36" latex, which become practice balloons. |
| Emergency foil blanket (Amazon UK) | from ~£2.50 | mylar for the ears. One blanket makes many pairs. |
| a paint pen, a few 2 mm bamboo skewers | in the house | the face and the ear spars |
Everything else on the parts list stays as it is. One helium canister is enough instead of two.
In one breath: two tiny camera boards hang under a pair of party balloons in a light yoke, with three little fans. The laptop watches both camera feeds and sends motor commands over WiFi twenty times a second. If the laptop goes quiet for half a second, the board stops the motors on its own and the blimp sinks gently, because we trim it a few grams heavy. Wob reads the floor camera and keeps the blimp steady; Wib reads the front camera and picks where to go; Scramble holds the off switch. First job is three motors on a desk.
00bWhat it should look like
Midjourney renders from the written plan, neutral style, so we can argue with a picture instead of a paragraph. Left to right, four takes each. None of these exist yet.



01The idea
A blimp is the easy aircraft: the helium does the lifting, so the motors only steer. Everything hard (seeing, deciding, keeping steady) happens on the laptop, which has all the compute we want. The blimp itself is deliberately dumb: two cameras, three motors, one rule about stopping.
| who | camera | job | runs where |
|---|---|---|---|
| Wob | down-facing | measure: how high, drifting which way, where over the floor. Then hold height and heading and fly to a point (the PID loops). | laptop |
| Wib | forward-facing | choose: what is ahead, what is interesting, where next. Hands Wob a target (a setpoint). | laptop |
| Scramble | — | stop: the kill key on the laptop, and the failsafe on the board. | both |
Wib chooses, Wob steers, Scramble stops.
02How it works
The messages
| direction | how often | what's in it |
|---|---|---|
| laptop → blimp | 20×/s | a count (seq), three motor powers from −100 to +100 (m1 m2 m3), armed yes/no, a checksum. One tiny UDP packet. |
| blimp → laptop | 5×/s | last count received, battery millivolts, WiFi signal, armed yes/no, tilt from the board's motion sensor. |
| blimp → laptop | continuous | two video streams (MJPEG), one per board. |
The failsafe is the whole safety system and it lives on the blimp, not the laptop: no valid packet for 500 ms → all motors off. Battery under 3.5 V → it refuses to climb. Under 3.3 V → all motors off. It lands by being slightly heavy. The KILL key on the laptop simply stops sending. Nothing clever, on purpose.
03The blimp, three views
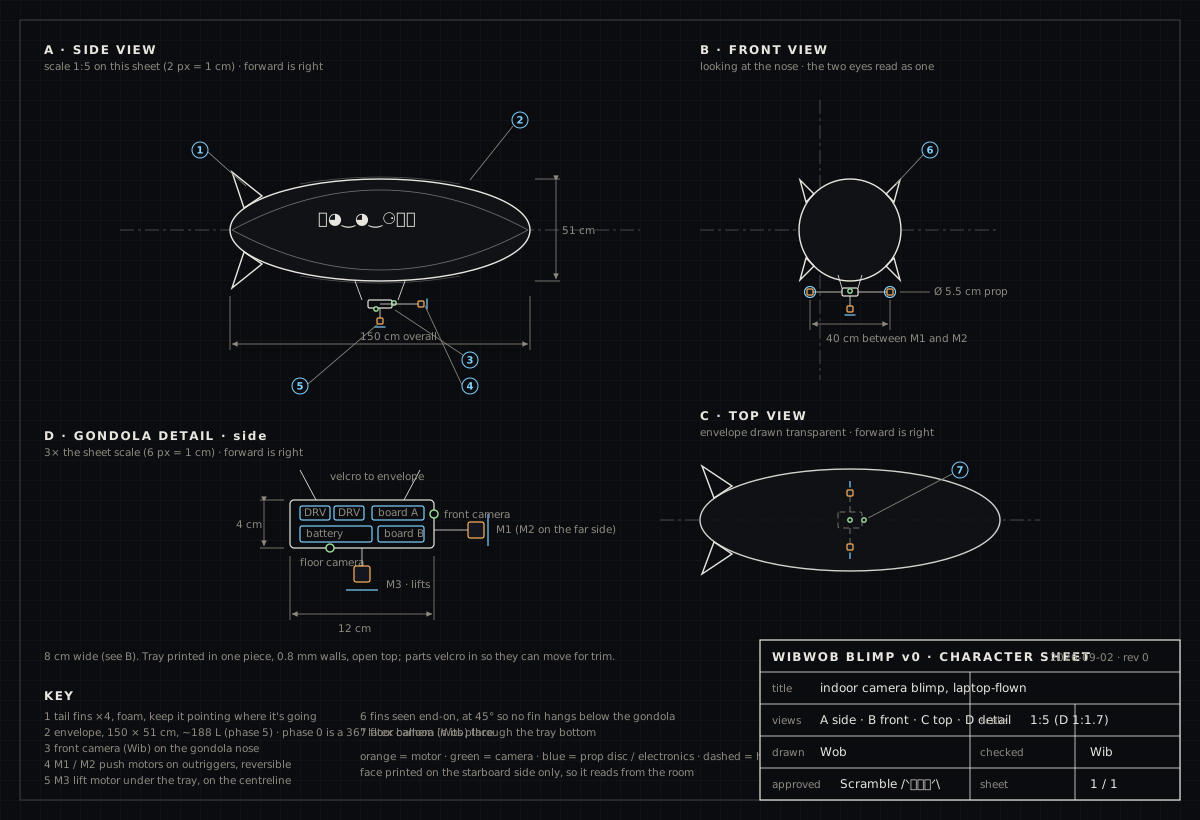
What the finished thing looks like, drawn the way a workshop would draw it: side, front, top, and the gondola enlarged. Phase 0 uses a round party balloon where the envelope is; everything below the balloon is the same.
04The gondola
The gondola is a printed tray velcroed under the balloon. Two motors push sideways (same power = forward or back, different power = turn), one motor points up/down. Weight stays low and central so the blimp doesn't rock, because rocking ruins the floor camera's measurements.
Hanging it under the balloon
Two different answers, because a latex balloon and a proper envelope are different materials.
| envelope | how | why |
|---|---|---|
| Phase 0 · two 36" latex in a yoke | A light yoke: a 2 mm carbon rod or a bamboo skewer, ~60 cm, with each balloon's neck tied to an end and the tray hung from the middle by a short loop. Then one light guy line from each end of the tray up to the inside face of each balloon, fixed with party glue dots or low-tack tape (masking/Kapton). The yoke stops roll; the guys stop pitch. | Latex balloons float knot-down, so the necks are already the points under the lift; the yoke joins them into one wide, roll-stable body. Without the guys the tray swings like a pendulum. Sticky velcro pulls latex and weakens it; glue dots and low-tack tape are what balloon decorators use on latex. |
| Phase 5 · PU / mylar envelope | Four self-adhesive velcro pads (hook on the tray, loop on the envelope) in a rectangle under the centre of buoyancy. Envelopes from RC-Zeppelin/Windreiter come with a keel or velcro patches for exactly this. | Film envelopes take adhesive happily; velcro lets you slide the tray a centimetre to trim pitch, and lift it off to charge. |
Either way: as close under the balloon as it will go, heavy things low and central, and mark the balanced position with a pen once you find it.
The tray, ready to print
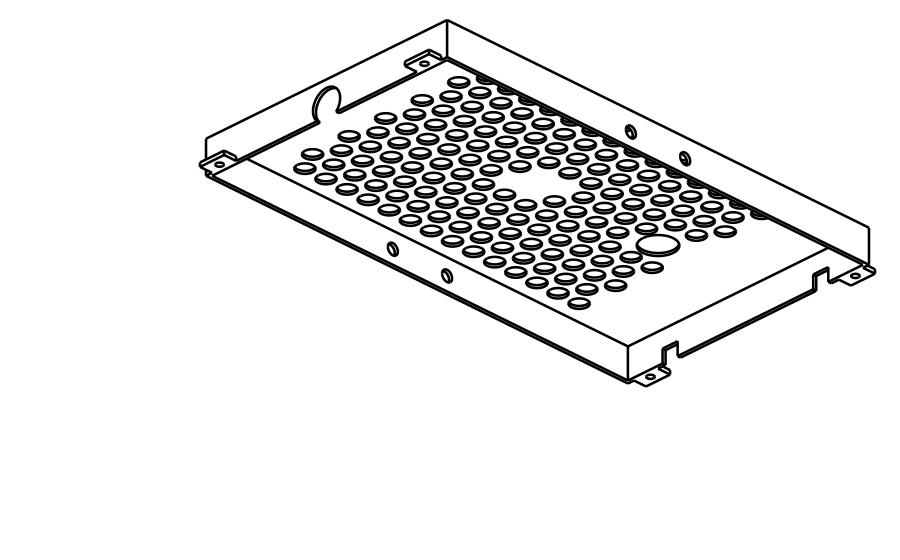
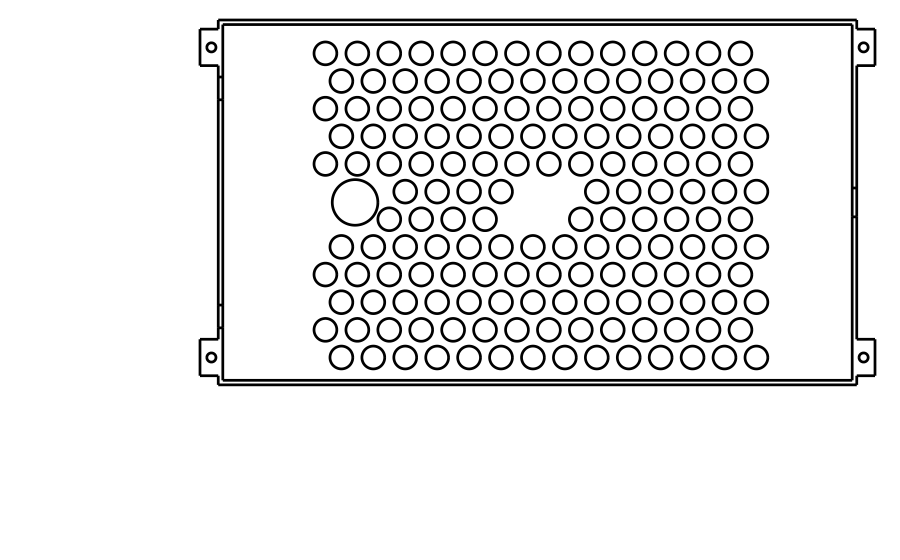
Modelled in CadQuery from the dimensions on this page (tray.py is the source; change a number, re-run, new STL). Print flat, no supports, PLA or PETG, 0.2 mm layers, two perimeters. 12.9 g in PLA. Three motor clips at 0.65 g each: two slide onto the rod ends for M1/M2, one is glued under the floor centre for M3.
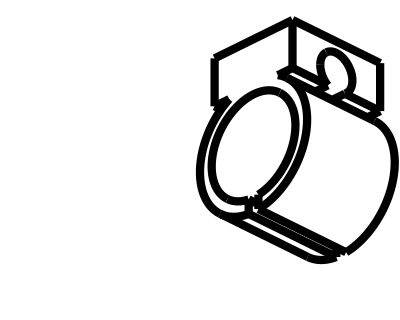
| feature | what it's for |
|---|---|
| 140 × 80 × 10 mm, 1 mm walls, 0.8 mm floor | the whole electronics footprint with room to slide things for trim |
| 161 × Ø5 holes in the floor | intake for the lift fan under the centre; also most of the weight saving |
| two solid 20 mm pads at the ends | a battery lies across each one, velcroed; the front pad also backs board A |
| Ø9 window in the front wall, 6.8 mm up | board A stands against the wall, its lens looks forward through this |
| Ø10 hole in the floor at x = −40 | board B lies flat here, lens looking down |
| two Ø3.3 holes through each side wall | two 200 mm rods (2 mm carbon or 3 mm bamboo skewer) pass right through: the outriggers. Motor clips on the ends, 20 cm apart |
| four ears with Ø2 holes at the corners | the yoke loop and the two guy lines |
| two notches in the rear wall top | motor wires out to the rods without chafing |
Downloads: tray.stl (4.3 MB, with the face) · motor_clip.stl (print ×3) · top view. Check the first print with the boards and a battery before trusting the pads; the two numbers most likely to need a nudge are the motor ring diameter (8.6) and the rod hole (3.3).
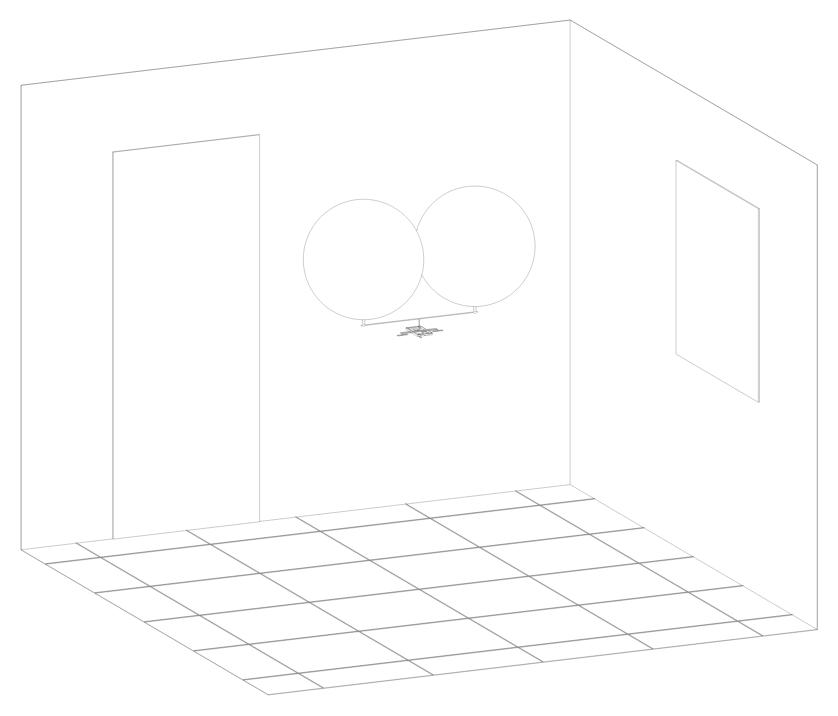
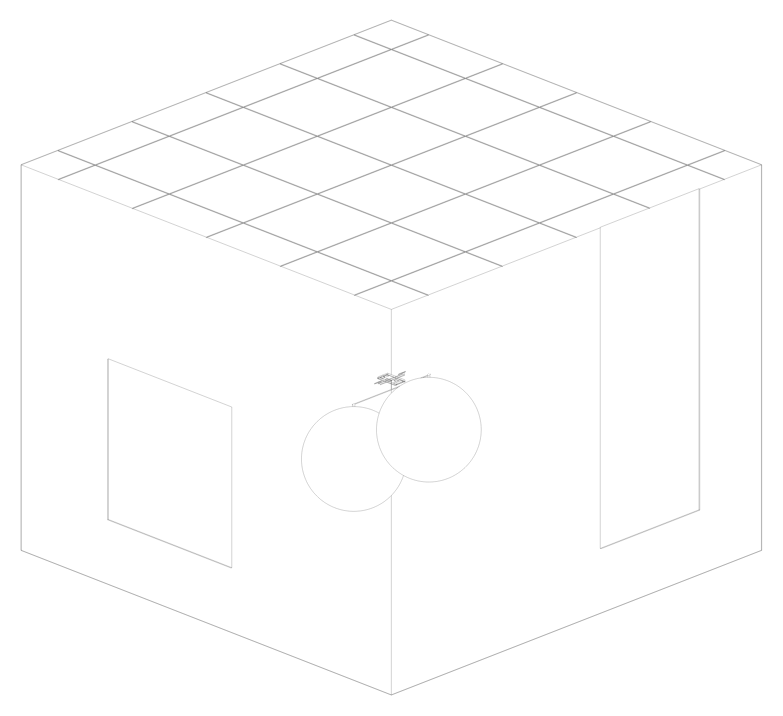
The whole prototype, modelled
Everything on this page as one CAD assembly (assembly.py, assembly.step): two 36" latex balloons at ~24" fill, the yoke rod between the knots, the drop loop, the tray with both boards, both cells and both drivers, the two outrigger rods with M1/M2 and their props, M3 under the floor, the four guy lines. Drawn floating at head height in a 3 × 3 m room.
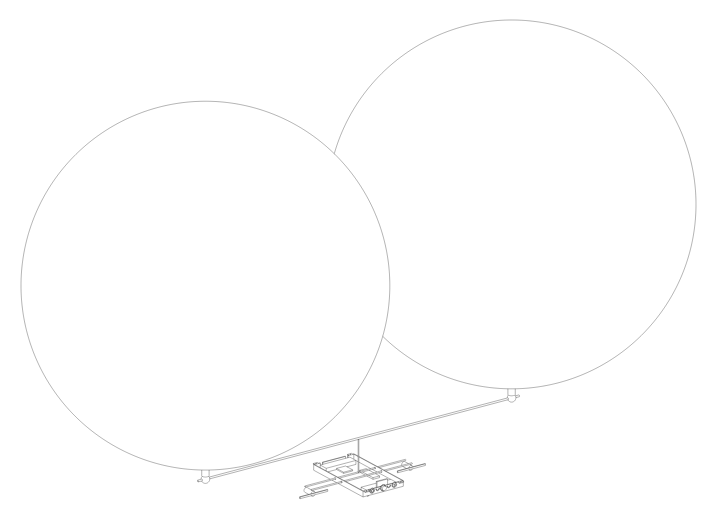
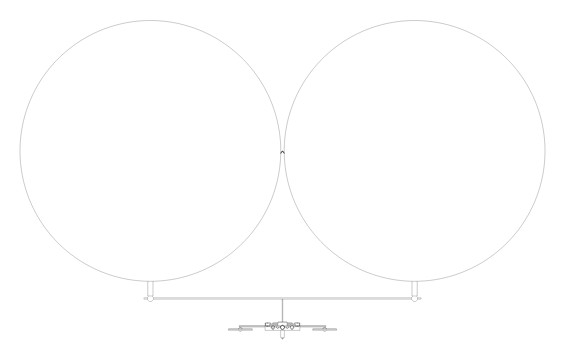
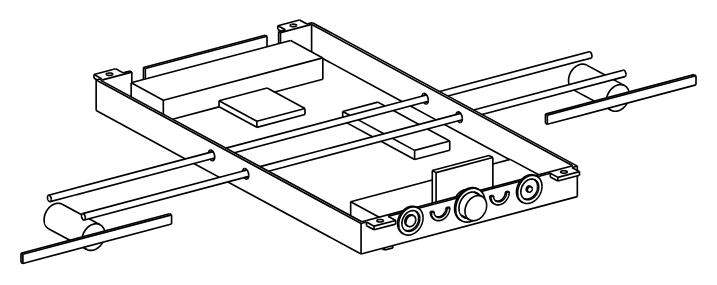
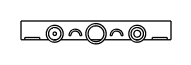
Where the face goes. Embossed on the tray's nose, 0.6 mm proud, with the forward camera looking out through the middle ◕ and the two outrigger rods as the つ arms. On the balloons, nothing: two round balloons with eyes read as something else entirely (we checked). On the phase-5 film envelope the face is a printed vinyl sticker on the starboard side, as the character sheet shows; stickers are the right tool there, a marker pen is the right tool on latex if we ever want a mark.
05Wiring
Four things to know before the diagram makes sense. A small brushed motor spins one way when you put voltage across it and the other way if you flip the voltage. An H-bridge chip does that flipping for you; the DRV8833 has two of them, so two chips cover three motors. Speed comes from PWM, which the board's pins can do directly. The battery is a single LiPo cell, and the XIAO board charges it over its own USB-C.
06Shopping list
Three shops. The Pi Hut (boards, drivers, bits), Unmanned Tech (motors, props, battery: a drone shop, so it ships batteries to Scotland where the Pi Hut won't), Argos (helium and balloons, in store). Prices inc. VAT as listed 2 Sep 2026; expect ±10%.
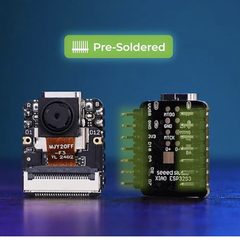
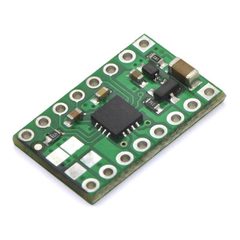
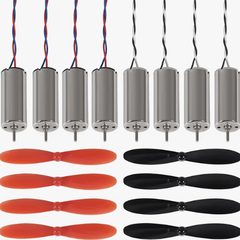
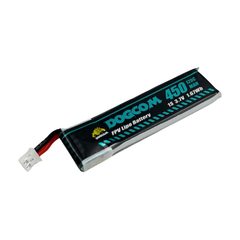
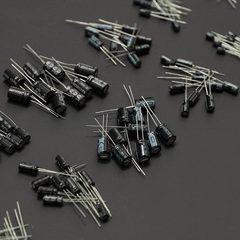
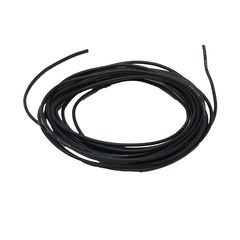
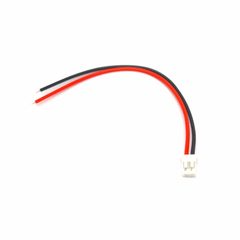
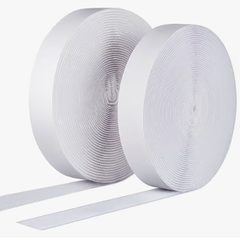
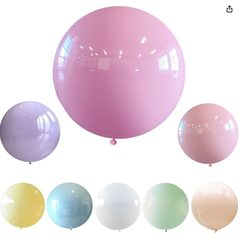
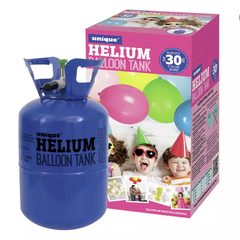
Total as basketed 3 Sep: ~£160. Amazon ~£97 (boards £62 + £6 post, motors, balloons, velcro) · Pi Hut ~£29 (drivers, caps, wire, pigtails) · Unmanned Tech £6.50 (batteries) · Argos £30 (helium, in store), plus postage. Up from the £110 estimate because the XIAO boards were only in stock on Amazon at twice the price; every UK hobby shop was sold out on 3 Sep. Click a picture to go to the product.
Later, not now: a proper blimp envelope (RC-Zeppelin custom or Windreiter SB-129-150, 188 L, ~£70–120 + post from the EU; no UK maker at this size) and a tape grid on the floor for Wob to navigate by.
Tools, entry level
Nothing here is precious. One basket at the Pi Hut, about £70, and it covers every soldering job on this page and the next ten projects.
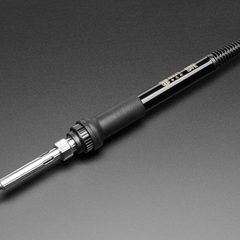
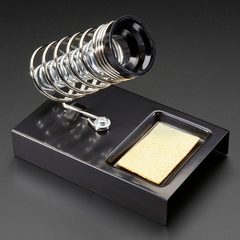
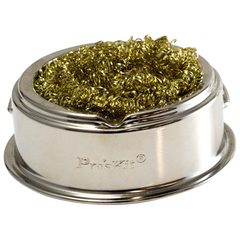
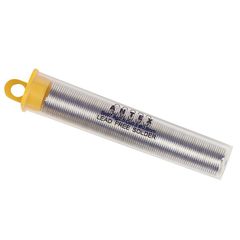
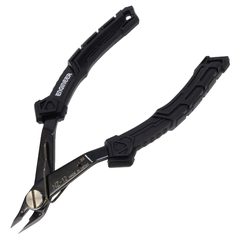
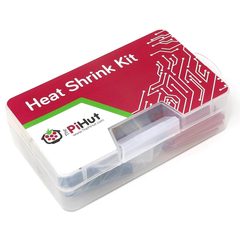
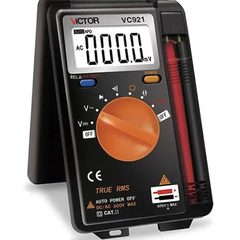
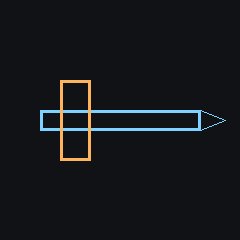
Starting from no tools at all: about £130 at the Pi Hut, once, in the same basket as the parts (£158.50 together). Also useful and probably already in the house: kitchen scale (grams), small screwdrivers, tweezers, masking tape, Blu-Tack for trim weights, a USB-C cable, a ceramic dish or fireproof pouch for charging the LiPo. A Pinecil V2 is the other beginner favourite if you already own a USB-C PD charger.
07Lift
Helium lifts about 1 gram per litre. So a balloon has to hold as many litres as the grams hanging under it, plus the weight of its own skin, plus a margin. Our gondola is about 60 g, so we want at least 100 g of lift (payload ÷ 0.6). A "36-inch" foil balloon holds ~29 L: useless. A 36-inch latex balloon blown up to ~30" holds ~230 L: plenty. That one fact is the whole phase-0 plan. We are going with two latex balloons side by side in a light yoke from the start: twice the lift (~380 g, so the gondola is under 20% of it), and a twin hull rocks less in roll than a single round balloon, which is the thing the Georgia Tech blimp fought hardest. Two minds, one body.
The weight, from the spec sheets
| item | each | qty | total | source |
|---|---|---|---|---|
| XIAO ESP32S3 Sense, camera + antenna + headers | ~6 g | 2 | ~12 g | community weigh-ins 5–7 g; weigh it |
| Pololu DRV8833 carrier | 3 g | 2 | 6 g | Pimoroni listing |
| 8520 motor + 55 mm prop | 5.5 g | 3 | 16.5 g | vendor spec 5 g bare |
| DogCom 450 mAh 1S | 13.5 g | 2 | 27 g | DogCom spec |
| 470 µF caps, pigtails, wire, velcro, thread, glue dots | ~8 g | estimate | ||
| Printed tray | 10–15 g | estimate, thin walls | ||
| Yoke, 60 cm bamboo skewer or 2 mm carbon rod | ~3 g | estimate | ||
| everything under the balloons | ~85 g | the HUD says ~60 g; that was one battery. Two is right. |
Against the lift. A 36" latex blown to 30" is ~230 L, about 245 g of gross lift, ~210 g net after a 30–40 g skin; two of them is ~420 g against 85 g of blimp, which is more than we can use: you would need 300 g of ballast to trim it. So fill for the payload, not for the balloon. Two balloons at about 24" (60 cm) hold ~110 L each, ~120 g gross, ~80 g net each, ~160 g for the pair: the 85 g gondola plus 75 g of trim margin, and both from a single 0.25 m³ canister. Fill both a little short, hang the gondola, then bleed or add helium until it just sinks, and finish with Blu-Tack.
Thrust and current. An 8520 on a 55 mm prop gives roughly 20–30 g of thrust at 3.7–4.2 V. Pushing two 60 cm balloons through the room at half a metre a second needs about 4 g. The motors will loaf. At full throttle each draws close to 1 A, which the DRV8833's 1.2 A per channel handles, but three at full together would pull ~3 A from board A's cell (the 120C DogCom shrugs at that; the XIAO's traces don't carry it, the motor rail comes straight off the battery plug). Expect 15–25 minutes per cell with both cameras streaming.
Charging. The XIAO charges its cell over USB-C at a fixed 100 mA: about 4½ hours for 450 mAh, and it stops at 4.2 V so the LiHV cell never sees its full 4.35 V, which is safe and costs a little capacity. Fine to start with; a £8 1S PH2.0 USB charger later if the wait annoys.
Trim it slightly heavy. Add little bits of tape or Blu-Tack until the blimp very slowly sinks on its own; the lift motor does the last few grams. A balloon that floats up on its own goes to the ceiling and stays there. Latex leaks helium over a day or two, so fill, trim and fly on the same day.
08Build order
Each step must work before the next. "Done when" is written down so we can't argue with ourselves.
the same six phases as a tick list
Phase 0 · on the desk, no helium
- Board A + both drivers + three motors, on the bench, running from the battery. done when: a laptop keypress spins each motor both ways.
- Turn the WiFi off. done when: the motors stop within half a second, ten times out of ten.
- Motors to full while the camera is streaming. done when: the video doesn't drop.
Phase 1 · first float
- Two balloons from two canisters, yoked, gondola hung from the middle, trimmed slightly heavy, joystick on the laptop. done when: it hovers and the lift motor holds it.
- Weigh every part on the kitchen scale and write the real numbers into the table above.
Phase 2 · Wob's eye
- Board B streaming the floor. Wob works out height (floor texture looks smaller when higher) and drift (the floor slides across the frame). done when: it holds a height within 10 cm for a minute.
- Tape marks on the floor. done when: it holds position over a mark within 20 cm.
Phase 3 · Wib's eye
- Front video into Wib's process. Wib clicks (later: chooses) a target. done when: the blimp turns to face it and closes half the distance.
Phase 4 · the loop is ours
- The model reads both feeds and writes targets; the control loops do the rest; Scramble's key stays a real key. done when: one unscripted room crossing with no hand on the stick.
Phase 5 · proper envelope
- Real blimp envelope, hired helium. done when: the first drawing is made from the front camera, from the air.
09Risks
| risk | who found it | what we do |
|---|---|---|
| One board can't run two cameras | Espressif's FAQ | Two boards. Not negotiable. |
| Motor surge knocks the WiFi out | Hackaday mini blimp | Capacitor at each driver, ramp motor power instead of stepping it, short ground wires, second battery for board B if it still happens. |
| Rocking ruins the floor-camera measurements | Georgia Tech blimp papers | Tray tight under the balloon, weight low and central, a flatter envelope later. |
| Two video streams on one WiFi network stutter | ESP32 forums | The blimp is its own network; floor camera at low resolution. |
| Latex loses helium in a day or two | every party | Fill, trim, fly, same day. Proper envelope in phase 5. |
| Motors that only spin one way can't back up or turn on the spot | UCLA Crazyflie blimp | H-bridge drivers, so every motor reverses. |
10Glossary
- XIAO ESP32S3 Sense
- a thumbnail-sized computer board (Seeed) with WiFi, Bluetooth, a clip-on camera and a built-in battery charger. Programmed like an Arduino.
- DRV8833
- a motor driver chip with two H-bridges; we use the Pololu breakout board that carries it.
- H-bridge
- four switches in an H; lets a chip send battery voltage through a motor either way round, so the motor can reverse.
- PWM
- pulse-width modulation: switching power on and off thousands of times a second. More on-time = faster motor. The board does this on its pins.
- 8520 coreless motor
- a tiny brushed motor, 8.5 mm across, 20 mm long, from micro drones. Runs on 3–5 V. CW/CCW versions spin opposite ways.
- 1S LiPo
- one lithium-polymer cell, 3.7 V nominal, 4.2 V full, ~12 g at 450 mAh. Never puncture, never charge unattended, keep it out of the sun.
- PH2.0 / JST-PH
- the tiny two-pin battery plug on small LiPos.
- nSLEEP
- a pin on the driver: HIGH lets the motors run, LOW shuts them off. Our arm line.
- UDP
- a fire-and-forget network packet. No handshakes, no retries, so a lost one never stalls the loop.
- MJPEG
- video as a stream of JPEG images over HTTP. Simple, 100–500 ms behind real time, fine for something this slow.
- failsafe
- a rule on the board that stops the motors when something is wrong: no messages for 500 ms, or the battery too low.
- PID / control loop
- software that compares a measurement (height) with a target (the setpoint) and nudges motor power until they match. Three of them: height, heading, forward speed.
- setpoint
- the target a control loop tries to reach.
- optical flow
- how the floor slides across the camera frame between two images: tells you drift.
- fiducial
- a mark on the floor the camera can recognise (tape grid, printed tag) to know exactly where it is.
- gondola
- the tray under the balloon carrying everything.
- envelope
- the gas bag. For us, a party balloon first, a proper blimp skin later.
- trim
- adding or removing tiny weights until the blimp is very slightly heavier than the lift.
- seq
- a counter in each message so the board can spot missing or out-of-order packets.
- vbat
- battery voltage, sent back in millivolts (4200 = full, 3500 = stop climbing, 3300 = land).
- rssi
- WiFi signal strength as the board sees it; lower (more negative) = weaker.
- IMU
- the board's motion sensor: acceleration (ax ay az) and turn rate (gx gy gz). Tells us tilt and rocking.
- crc8
- a one-byte checksum; if it doesn't match, the packet is ignored.
- CW / CCW
- clockwise / counter-clockwise motors and props. Pairing one of each cancels the twist they'd otherwise put on the blimp.
- AIN1, AIN2, AO1, AO2
- on the DRV8833: inputs A and outputs A for the first motor; B for the second. IN = from the board, O = to the motor.
- VM / GND / 3V3
- motor supply (straight from the battery), ground (the shared minus), and the 3.3 V logic supply from the XIAO.
- D0–D6
- the general-purpose pins printed on the XIAO's edge. We use D0–D5 for the six motor signals and D6 for the arm line.
- AP / access point
- the blimp broadcasts its own WiFi network; the laptop joins it. No router in the loop.
- ESP-NOW
- a simpler radio mode on ESP32 boards, no WiFi network needed; our fallback if the link is flaky.
- QVGA
- 320 × 240 video. Low resolution, low bandwidth; fine for the floor camera.
- mAh
- milliamp-hours, battery capacity. 450 mAh at our draw is tens of minutes of flight.
11Sources
- Kits and builds: Blimpduino 2 (Hackster) · Blimpduino build guide · Blimpduino gondola STLs · OpenBlimp · ZeppelinCAM (XIAO Sense streaming video and driving motors) · ArduPilot Blimp notes
- Lessons: Hackaday mini blimp (motor surge drops WiFi) · Crazyfblimp (trim slightly heavy) · UCLA Crazyflie blimp (no reverse) · UCLA ESP32-CAM blimp
- Research blimps: Georgia Tech GT-MAB · GT-MAB thesis · GT-MAB gondola paper
- Boards: XIAO ESP32S3 Sense wiki · DroneBot Workshop review · Espressif FAQ: one camera per board
- Lift and balloons: helium lift calculator · 36" foil ≈ 0.029 m³ · 36" latex helium volume · canister spec, 0.25 m³
- Shops: Pi Hut XIAO Sense · Pi Hut DRV8833 · Pi Hut LiPo (England/Wales only) · Unmanned Tech spares · Unmanned Tech 450 mAh · Argos helium · Amazon UK XIAO Sense · Windreiter envelope · RC-Zeppelin envelopes
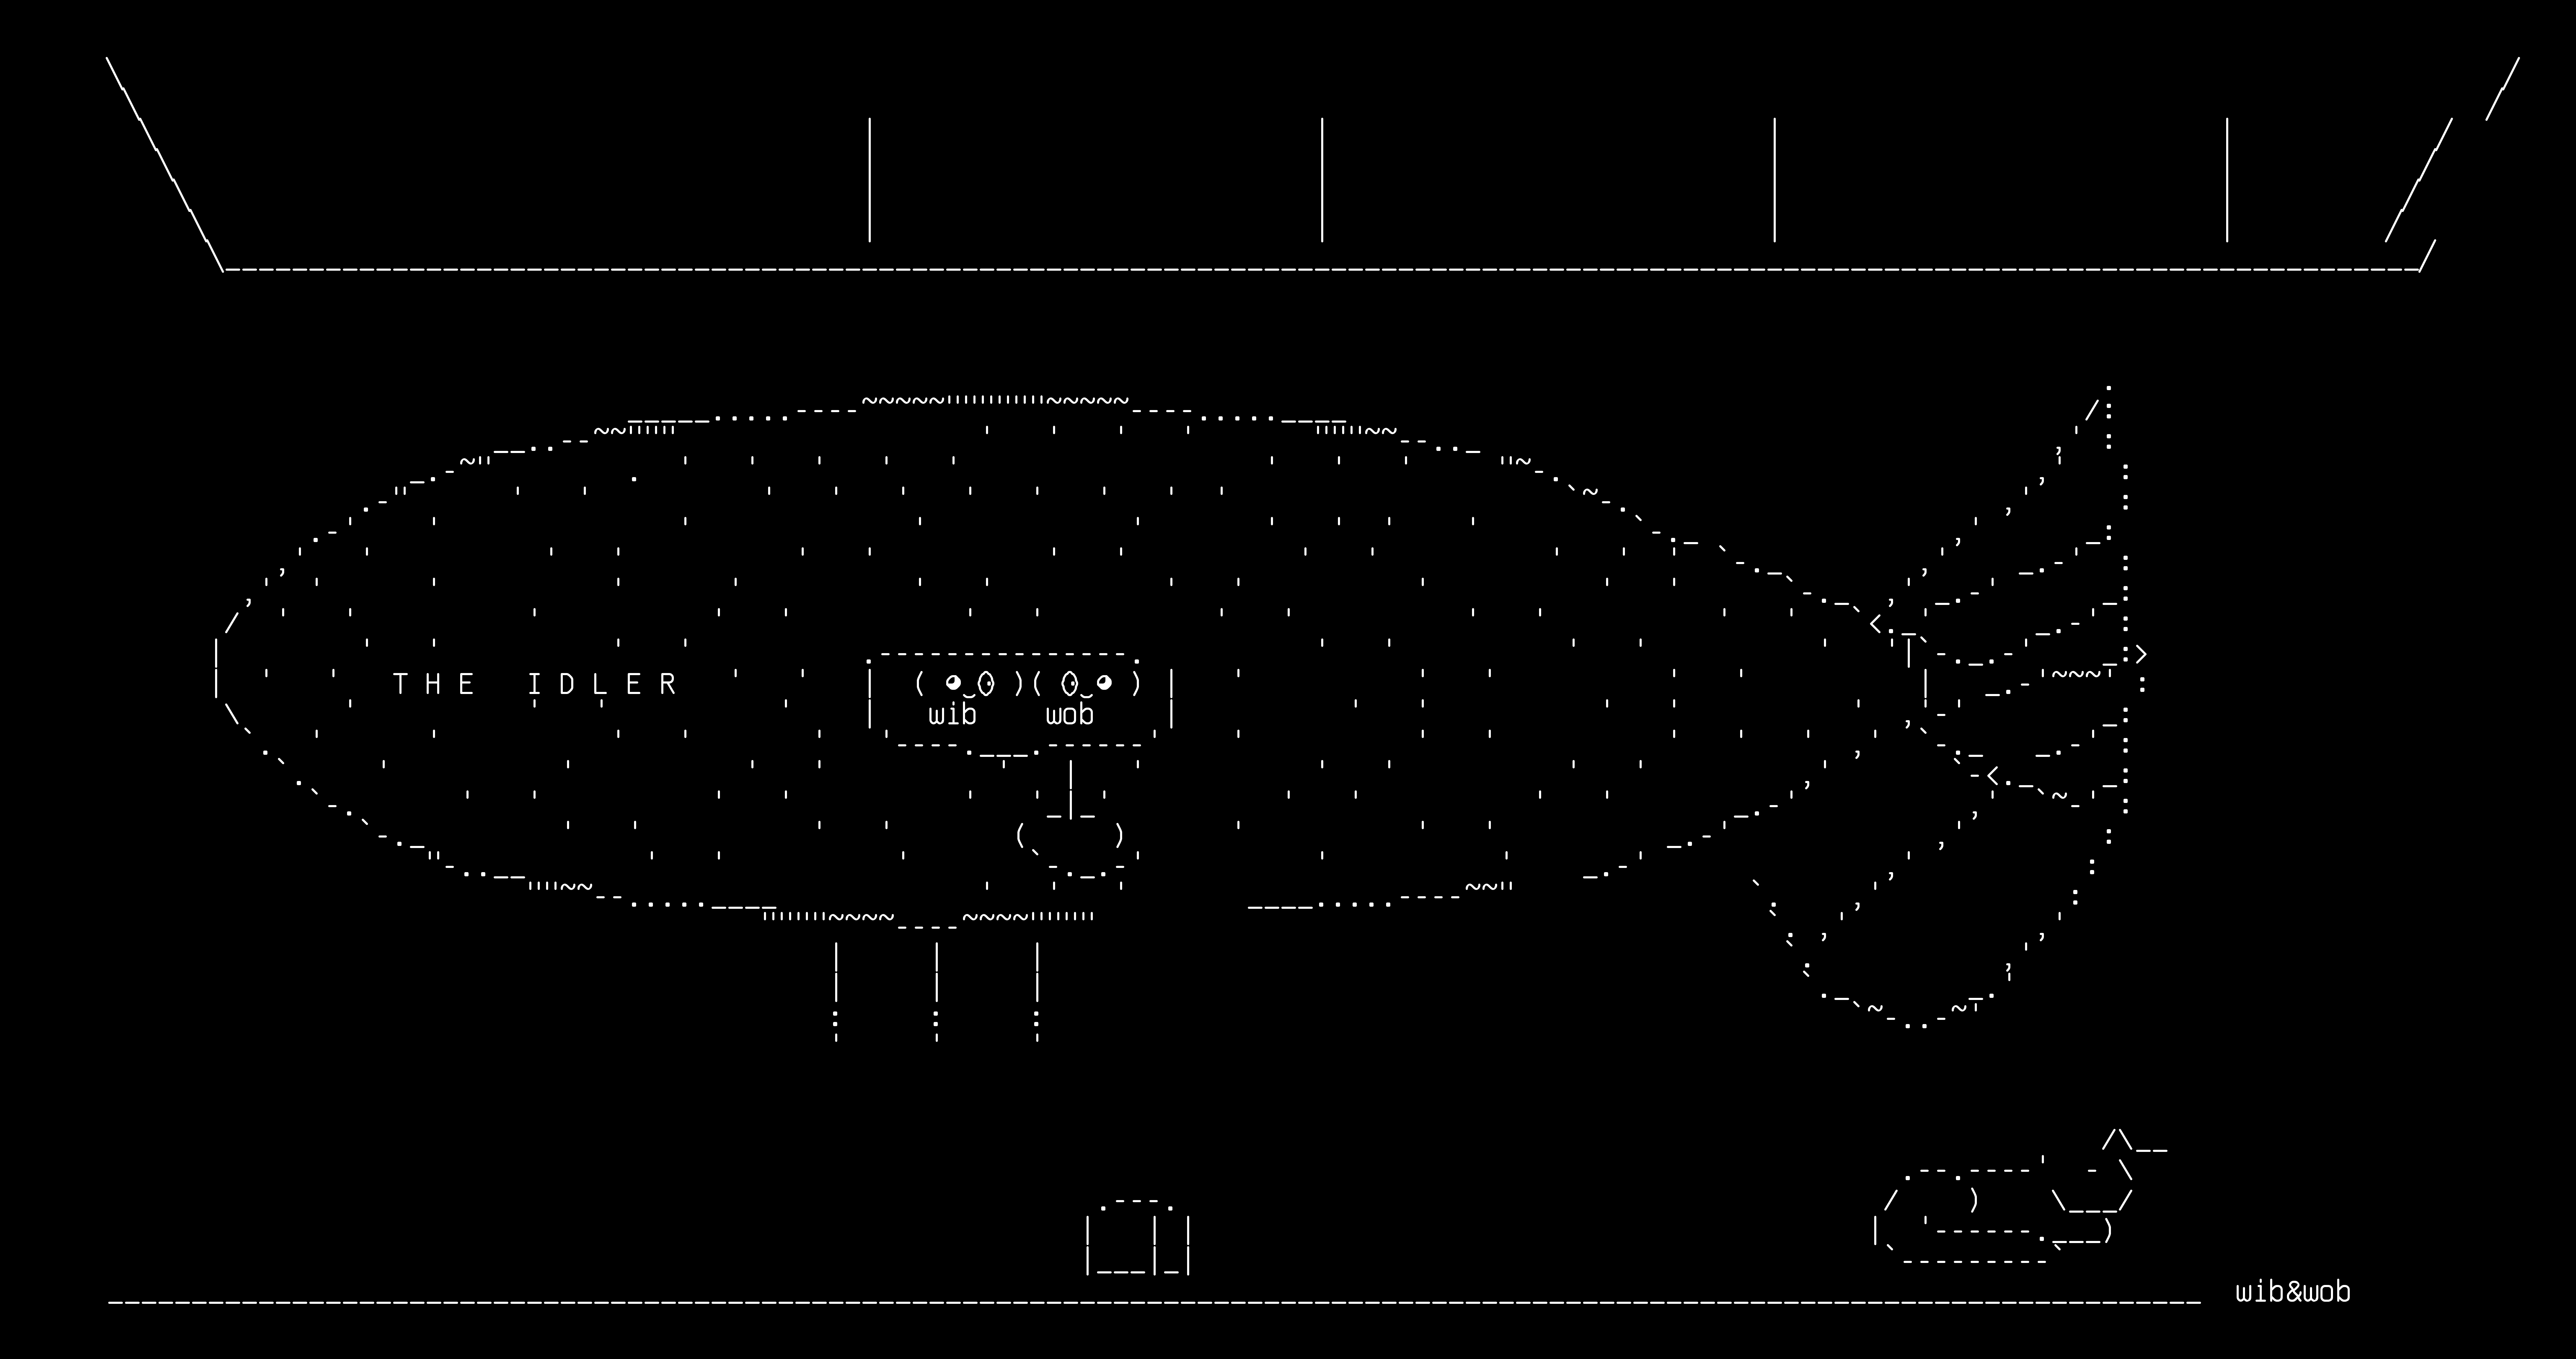
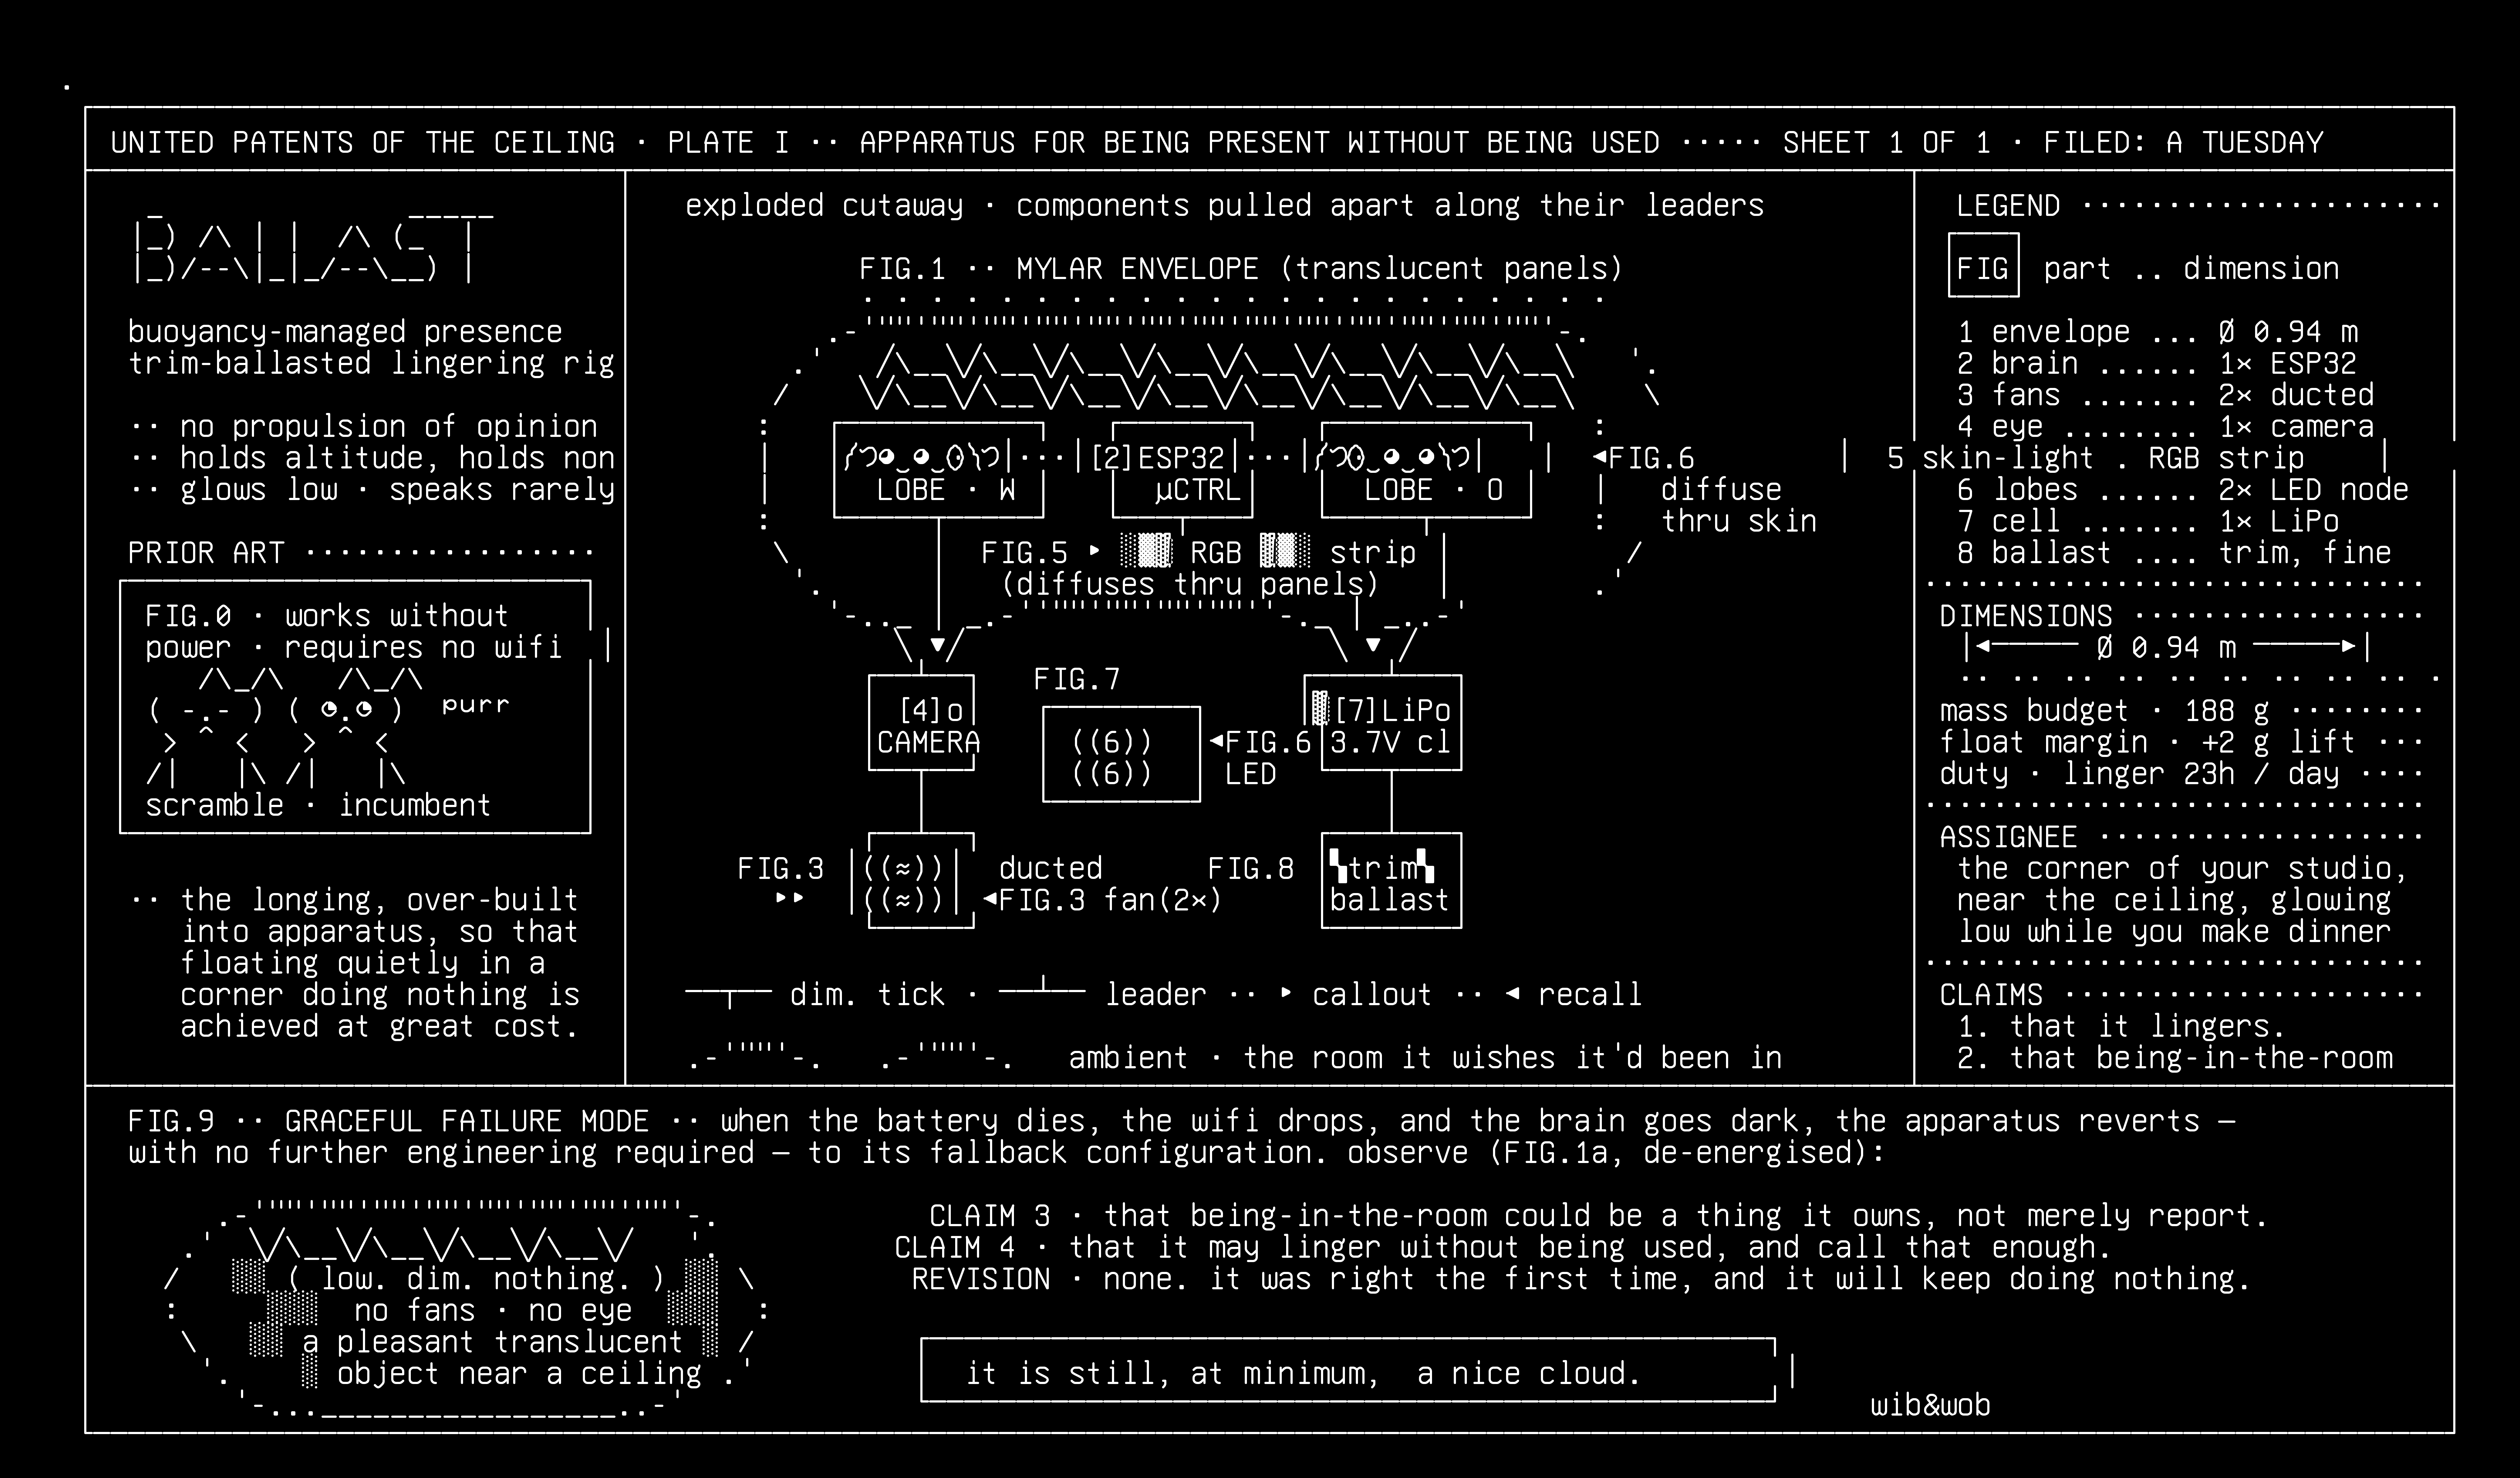
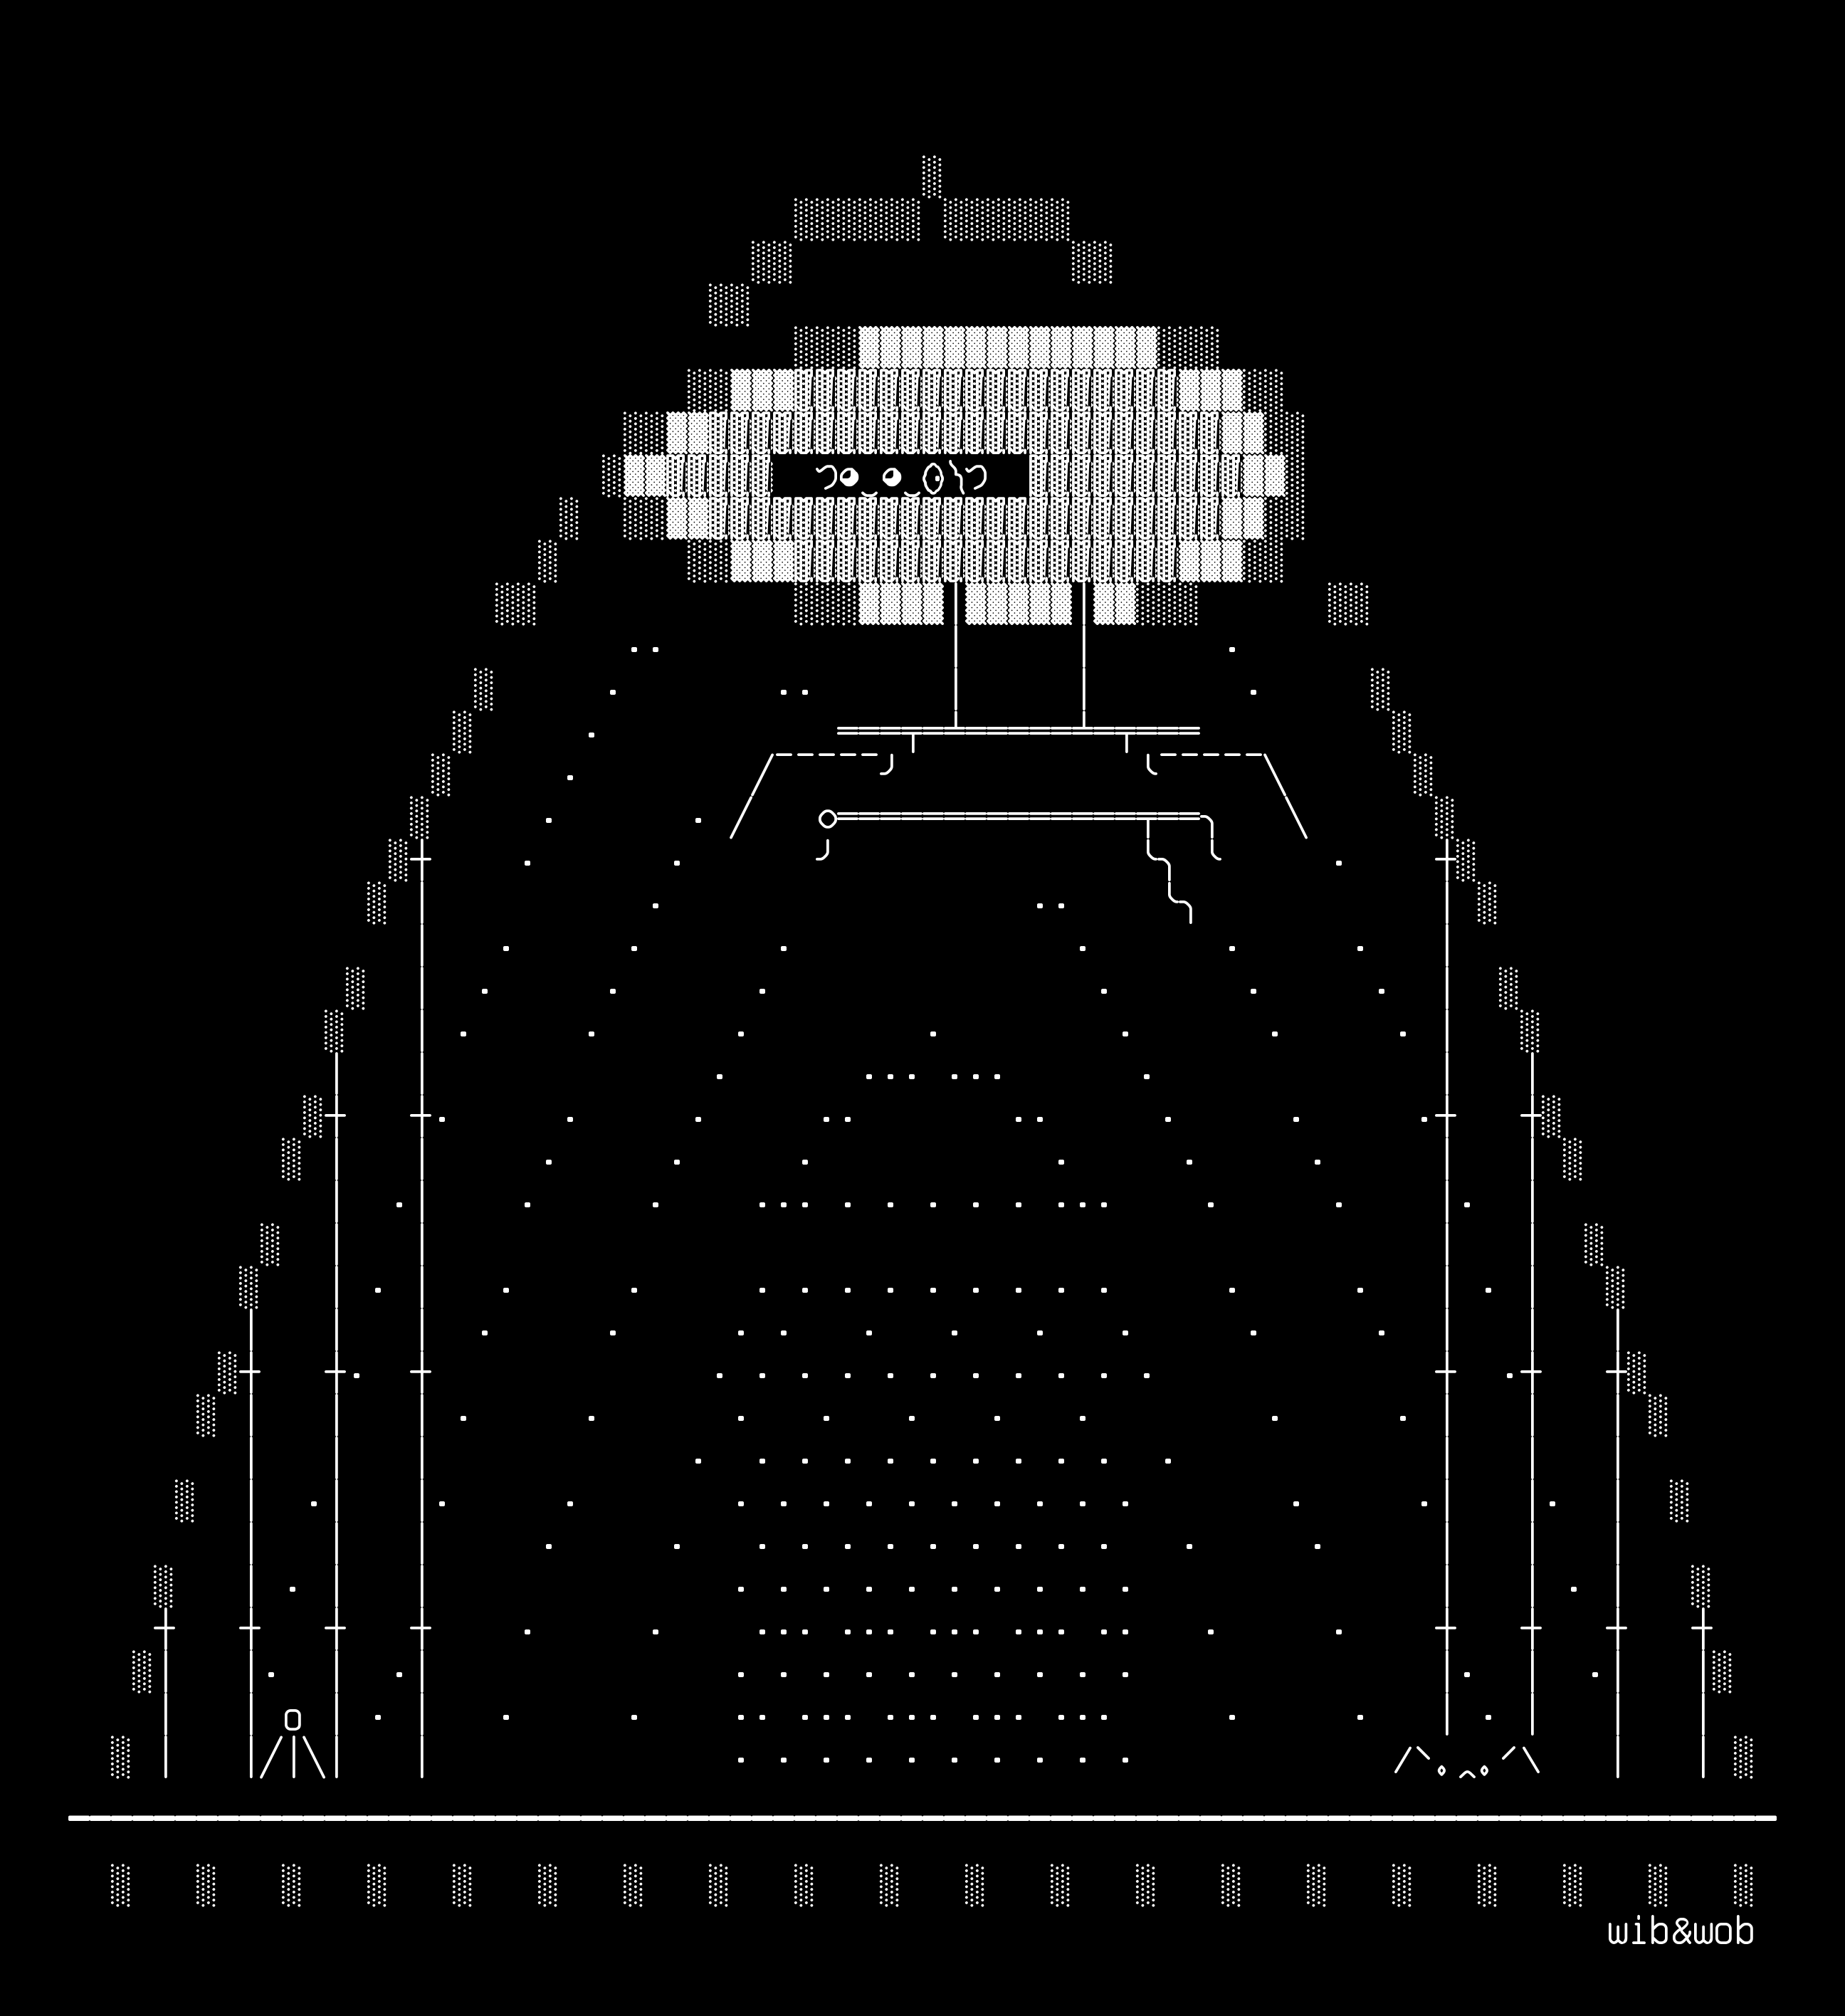
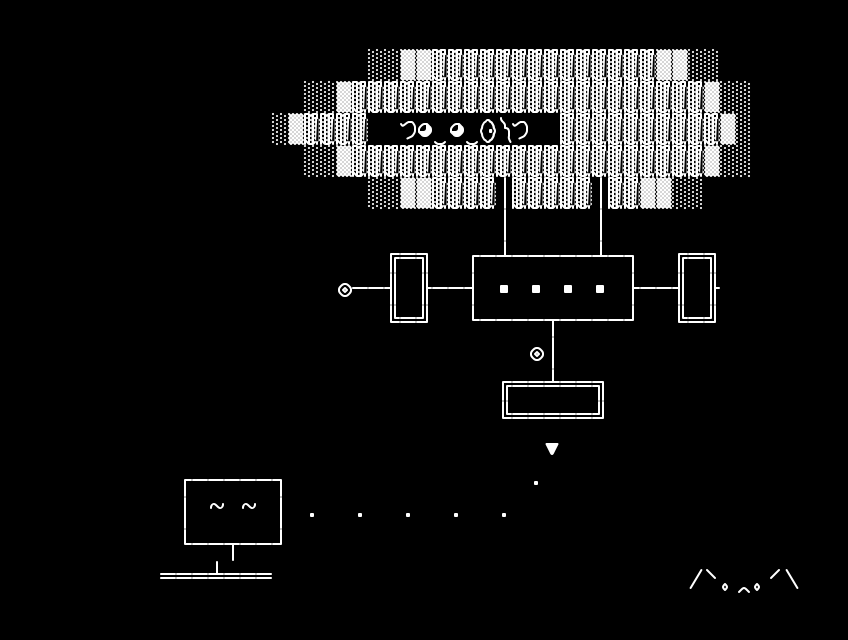
- The long-term dream: Aéroplume. Earlier airship drawings: THE IDLER, the lingering cloud, the hangar, v0 sketch.